


Starting a polytunnel might seem simple – but the wrong setup can lead to frustration, wasted time, and poor results
Poly tunnels like those on offer at First Tunnels polytunnels are a great tool to help extend your growing season beyond summer. But many first-timers run into problems early on… From choosing a bad location to planting too much too soon, the same polytunnel mistakes pop up time and again.
Here, we highlight the most common mistakes when starting a polytunnel – and show you exactly how to avoid them. No matter whether you’re starting out with your first domestic polytunnel or going large with a commercial polytunnel; many can relate to these common polytunnel mistakes.
1. Poor site selection: Sunlight, shelter, and soil matter
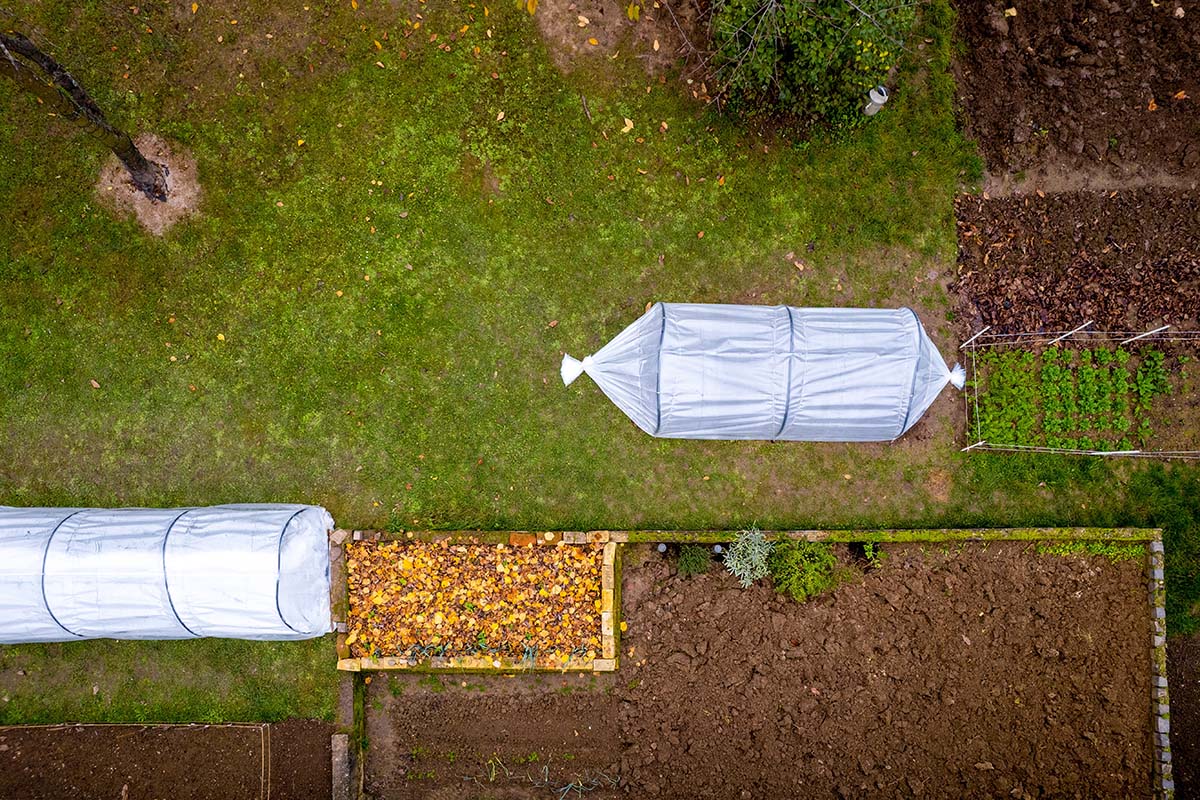
One of the biggest polytunnel mistakes people make is putting it in the wrong spot. You might be tempted to tuck it into a quiet corner of the garden, but if that spot doesn’t get enough light or is exposed to strong winds, you’ll run into problems fast. A good gardening site makes all the difference. Look for a south-facing position with at least six hours of direct sunlight a day. Avoid shaded areas, especially those near trees, sheds, or fences that cast long shadows. If your garden is on a slope, steer clear of the lowest points, as they often collect water and become boggy. High winds are another issue. A polytunnel might seem sturdy at first, but without shelter, even a strong frame can suffer in harsh weather. If your garden is exposed, consider adding a windbreak using hedging, fencing, or mesh netting. It doesn’t need to block all the wind—just break it up enough to stop it battering your tunnel. Not sure where to place your tunnel? Read this guide on where to position a polytunnel for practical tips on sunlight, wind, and drainage. Quick Tip: Avoid placing your polytunnel right next to trees or shrubs. Over time, branches can rub against the cover and cause damage.
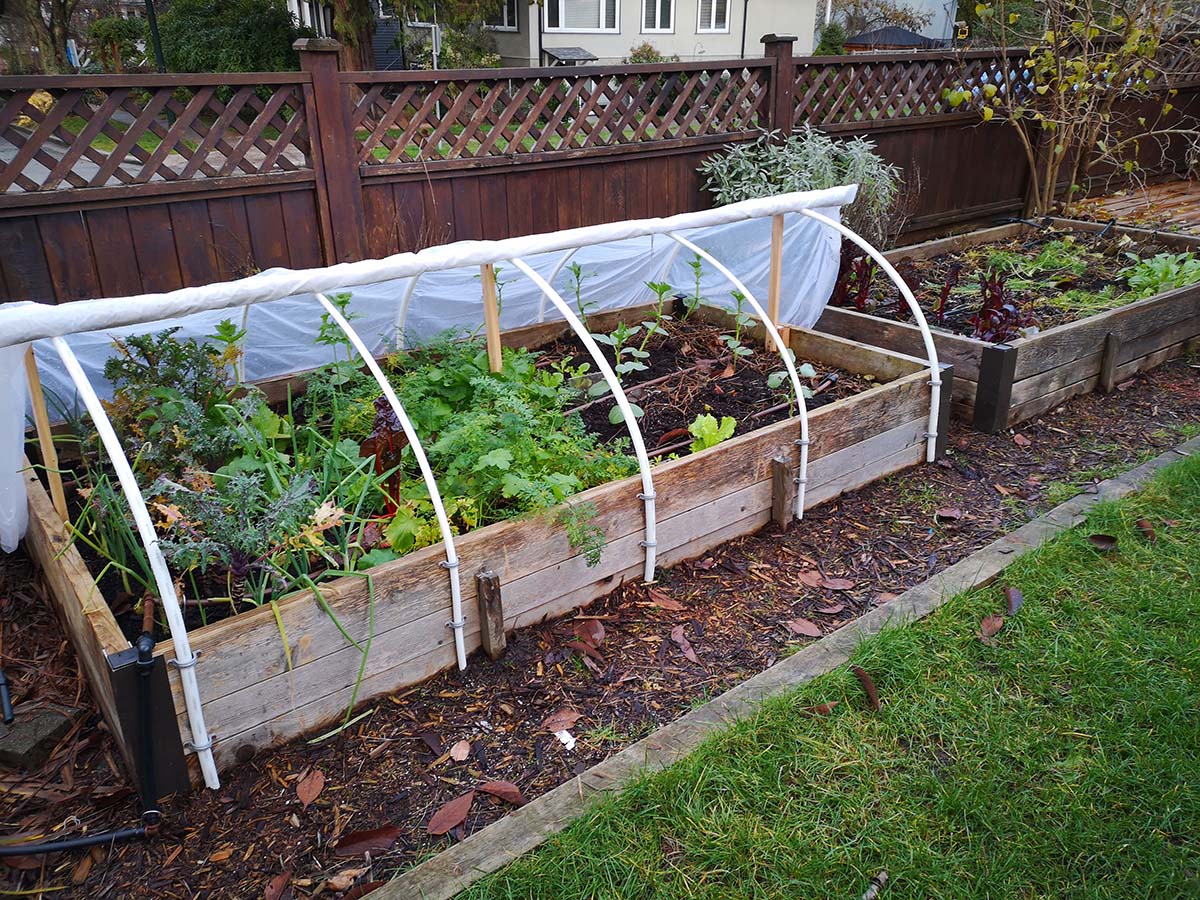
2. Skipping ground prep
Jumping into the build without getting the ground ready is one of the most common mistakes when starting a polytunnel. If the soil underneath is uneven or full of weeds, you’ll face problems before you’ve even sown a single seed. Start by marking out the footprint of your tunnel. Remove all large stones, deep-rooted weeds, and grass. Use a spade or rotavator to level the soil as much as possible—especially if your frame will be fixed into the ground. Even small slopes can put strain on the structure and make doors and supports uneven. Once cleared, dig in compost or well-rotted manure to improve the soil quality. If you’re planning to grow directly into the ground, this will give your crops a healthy start. Raised beds are also a good option, especially if the soil is poor or drainage is an issue. And don’t forget weed control. Laying a weed membrane across paths and unused areas helps keep maintenance low. Weeds are easier to manage before the tunnel goes up than afterwards.
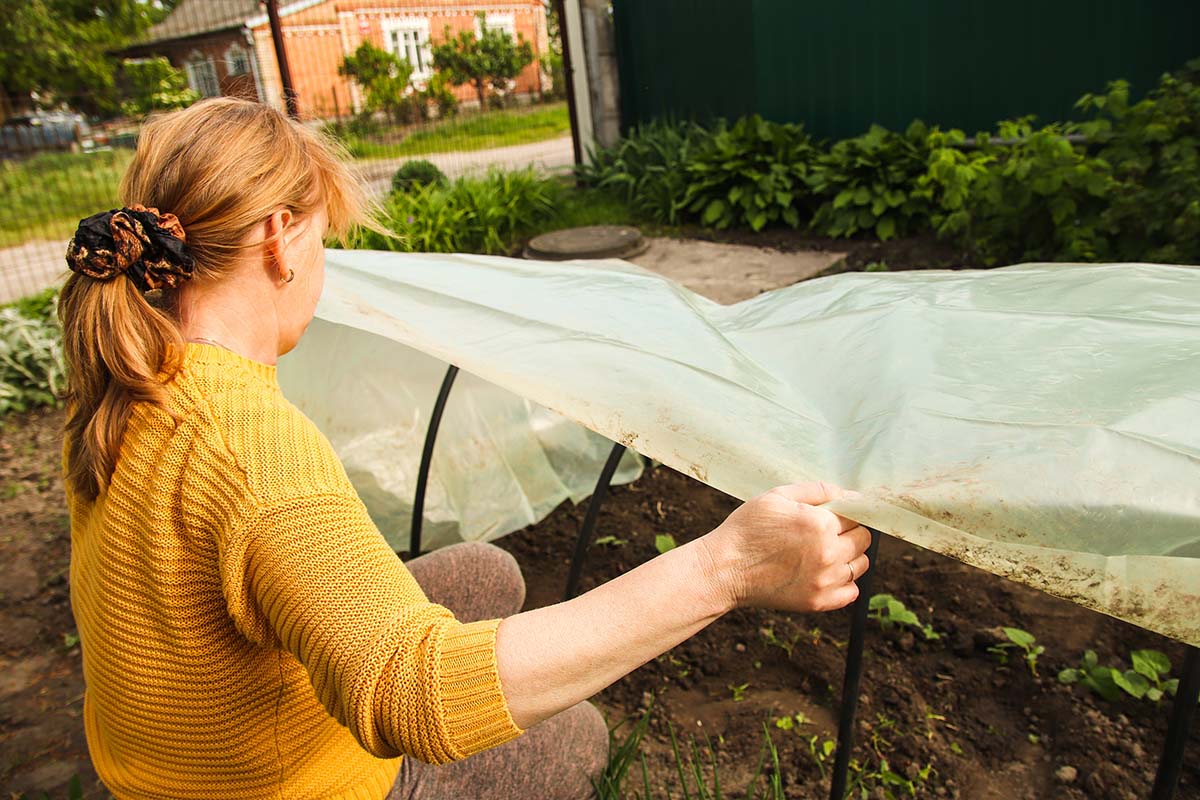
3. Forgetting ventilation

Some first-time growers assume that once a polytunnel is up, they can shut the doors and leave the rest to nature. But without airflow, you’re likely to face stuffy air, mould, and even crop loss. Poor ventilation is one of the easiest polytunnel mistakes to overlook. Good ventilation keeps temperatures stable, reduces humidity, and prevents fungal diseases from spreading. Aim to have doors at both ends so you can create a through-draft. If possible, choose a design that includes roll-up sides or louvre vents for better summer airflow. During the warmer months, swap solid doors for mesh panels or keep one door open during the day. Just remember to close it in the evening to keep out wildlife. It’s also wise to space plants well so they’re not packed too tightly together—this encourages better air circulation and makes spotting pests easier. Worried about overheating or cold snaps? Check out this article on managing polytunnel temperature to help keep your growing environment just right.
4. Planting in a panic
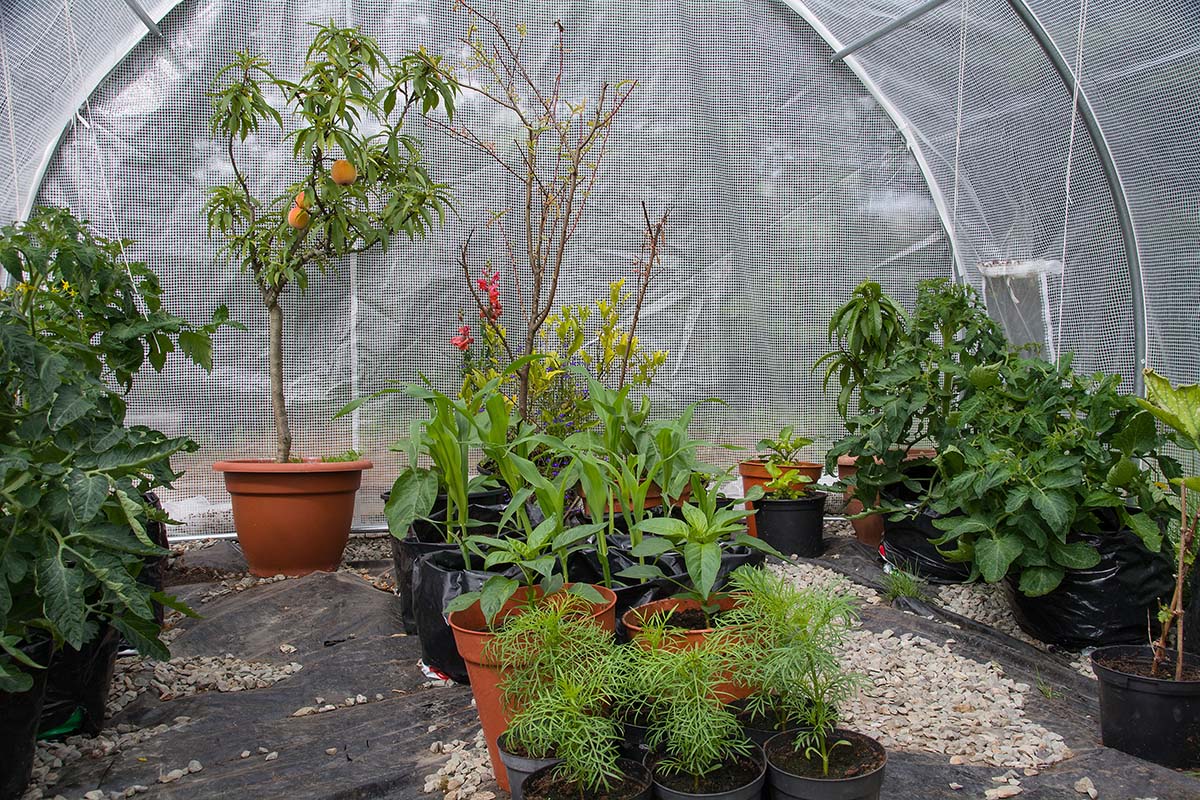
Once your polytunnel is built, it’s tempting to pack it full straight away. But overcrowding is one of the most common mistakes when starting a polytunnel, especially for new gardeners keen to make the most of their space. Too many plants in a small area compete for light, water, and nutrients. Airflow is reduced, and that’s when problems like mildew, aphids, and stunted growth begin. Before planting, sketch out a rough layout of what you want to grow and when. Use staging or vertical supports to make the most of your tunnel’s height. Make sure you leave space for access paths too—it’s no good growing a bumper crop of tomatoes if you can’t reach them without stepping on your courgettes. Did You Know? Polytunnel-grown plants often grow faster than those outdoors, so even fewer plants can produce a larger harvest over time.
5. No plan, no gain
A final common polytunnel mistake is not thinking beyond a single season. A polytunnel can be used all year—but only if you plan ahead. Planting the same crops in the same place over and over again leads to poor soil, tired plants, and an increase in pests. Use a basic crop rotation system to keep your soil healthy. Swap around plant families from year to year—for example, don’t follow tomatoes with peppers, as they’re both nightshades. Add compost between rotations, and consider using green manure over winter to boost nutrients. Plan for year-round use by adding hardy crops like spinach, kale, or winter lettuce once summer crops are done. Even in colder months, a polytunnel provides enough shelter for slow-growing veg. Use these growing guides to keep track of sowing and harvesting dates—it helps you avoid gaps and keeps things organised.
Essential need-to-knows
What size polytunnel should I start with as a beginner?
A good beginner size is typically 6ft to 10ft wide and 15ft to 20ft long, which offers enough room for diverse planting and walkways without overwhelming your space or budget. Start small, but consider future expansion — it’s common to wish you’d gone bigger!
Do I need planning permission for a polytunnel in the UK?
In most domestic garden settings, planning permission is not required, but exceptions apply. If your polytunnel is over a certain size, near a boundary, or used commercially, it’s best to check with your local council. Allotments and conservation areas may have additional rules.
When is the best time of year to install a polytunnel?
Autumn or early spring are ideal. The ground is soft enough for pegging or digging, and you can prepare your beds for the coming growing season. Avoid installing during extreme cold, heavy rain, or high winds.


